20.04:https://hub.docker.com/r/skysider/pwndocker
这个是即用即销的,只有root用户
sudo docker pull skysider/pwndocker
ctf_name="pwn_challenge"
sudo docker run -d \
	--rm \
	-h ${ctf_name} \
	--name ${ctf_name} \
	-v ~/Desktop/CTFshow_pwn:/CTFshow_pwn \
	-p 23946:23946 \
	--cap-add=SYS_PTRACE \
	skysider/pwndocker

sudo docker exec -w /CTFshow_pwn -e TERM=xterm-256color -it pwn_challenge bash
|
FROM ubuntu:24.04
ARG DEBIAN_FRONTEND=noninteractive
RUN dpkg --add-architecture i386 && apt-get -y update
RUN apt-get install -y \
apt-transport-https \
vim \
nano \
git \
curl \
wget \
sudo \
netcat-openbsd \
openssh-server \
unzip \
bison \
flex
RUN apt-get install -y \
python3 \
python3-pip \
python3-venv \
python3-dev \
python3-setuptools
RUN apt-get install -y \
build-essential \
libglib2.0-dev \
libfdt-dev \
libpixman-1-dev \
zlib1g-dev \
gcc-multilib \
gdb \
gdb-multiarch \
clang \
lldb \
make \
cmake \
nasm
RUN apt-get install -y \
qemu-system-x86 \
qemu-user \
qemu-user-binfmt \
tmux \
konsole
RUN apt-get install -y \
lib32z1 \
libc6-dbg \
libc6-dbg:i386 \
libgcc-s1:i386
RUN apt-get install -y ruby-full && \
gem install one_gadget --no-document
RUN rm -f /etc/service/sshd/down
RUN sed -ri 's/^#?PermitRootLogin\s+.*/PermitRootLogin yes/' /etc/ssh/sshd_config &&\
sed -ri 's/#UseDNS\ no/UseDNS\ no/g' /etc/ssh/sshd_config && \
sed -ri "s/StrictModes yes/StrictModes no/g" /etc/ssh/sshd_config && \
sed -ri "s/UsePAM yes/UsePAM no/g" /etc/ssh/sshd_config
RUN echo 'PasswordAuthentication yes' >> /etc/ssh/sshd_config
RUN echo "ubuntu:123456" | chpasswd && \
echo "root:123456" | chpasswd
RUN usermod -aG sudo ubuntu
RUN echo "#!/bin/sh\nservice ssh restart\nsleep infinity" > /root/start.sh
RUN chmod +x /root/start.sh
RUN python3 -m venv /pip_venv && \
chown -R ubuntu:ubuntu /pip_venv && \
echo "\n\n# pip venv\nsource /pip_venv/bin/activate" >> /home/ubuntu/.bashrc
RUN /pip_venv/bin/pip config set global.index-url https://pypi.org/simple && \
/pip_venv/bin/pip config set global.trusted-host pypi.org && \
/pip_venv/bin/pip install --default-timeout=100 --retries=10 -U pip && \
/pip_venv/bin/pip install --default-timeout=100 --retries=10 --no-cache-dir \
pwntools \
ropgadget \
z3-solver \
smmap2 \
apscheduler \
ropper \
unicorn \
keystone-engine \
capstone \
angr \
pebble \
r2pipe \
LibcSearcher \
poetry
USER ubuntu
RUN mkdir -p /home/ubuntu/tools && \
cd /home/ubuntu/tools && \
git clone https://github.com/pwndbg/pwndbg && \
cd pwndbg && \
./setup.sh
USER root
CMD ["/root/start.sh"]
EXPOSE 22
|
在一个空白文件夹中创建一个名为 Dockerfile 的文件,并写入上述内容,随后运行如下指令:
docker build -t pwnenv_ubuntu24 .
docker run -d \
-p 25000:22 \
--name=pwn24 \
--cap-add=SYS_PTRACE \
-v ~/Desktop/CTF:/CTF \
pwnenv_ubuntu24

docker exec -w /CTF -e TERM=xterm-256color -u ubuntu -it pwn24 bash   #进入容器
|
-d: 使容器在后台运行-p 25000:22: 容器的 22 端口映射到本地的 25000 端口--name=pwn24: 容器名为 pwn24--cap-add=SYS_PTRACE:添加 SYS_PTRACE 权限,允许调试和追踪进程-v ~/Desktop/CTF:/CTF : 将本地的 ~/Desktop/CTF 目录映射到容器中的 /CTF 目录,这样我们便能在容器内访问到本地文件,而无需将文件重复拷贝进容器中pwnenv_ubuntu24:创建容器所使用的镜像
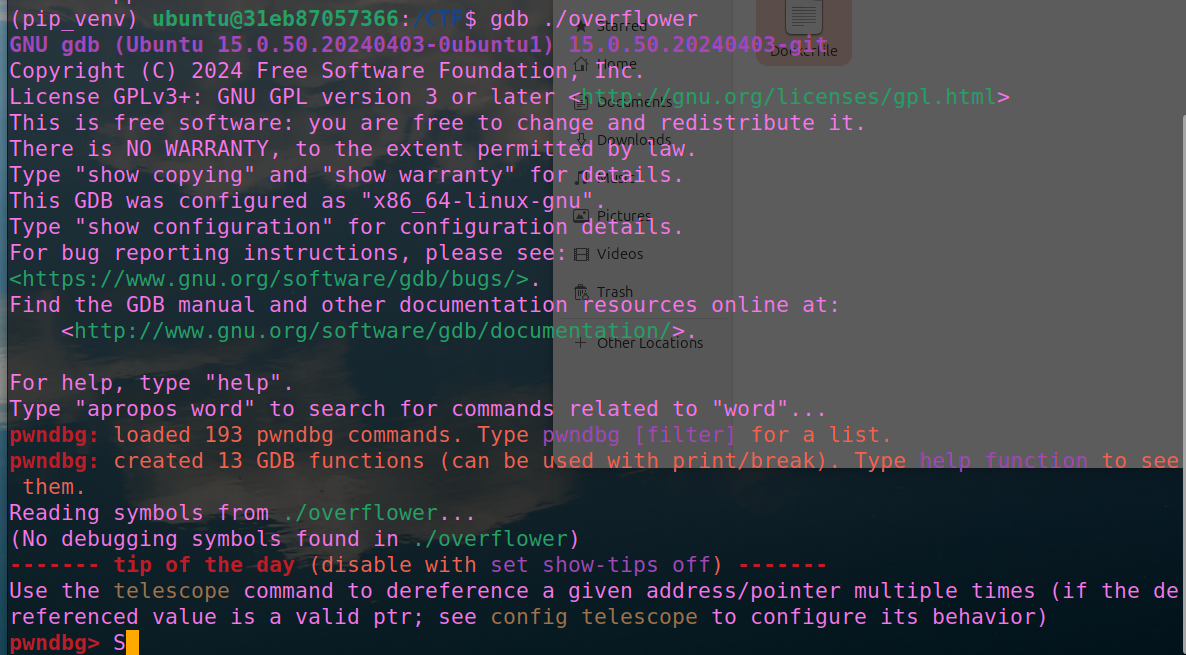
启动问题:打开还是gdb 而不是pwngdb【因为要root用户,user就用以下步骤】


find / -name "pwndbg" 2>/dev/null
cd /pwndbg
ls
sudo chown -R ubuntu:ubuntu /pwndbg
./setup.sh
|
以后启动:
sudo docker start pwn24 #启动容器
sudo docker exec -w /CTF -e TERM=xterm-256color -u ubuntu -it pwn24 /bin/bash #进入容器
退出虚拟环境:deactivate exit